Autopilot: Trigger - Form Submitted
Autopilot allows you to capture form submissions from existing forms on your website or landing pages, simply by adding the tracking code. Contacts captured from tracked forms can be added to Journeys using this trigger.
How to capture a form
First ensure the tracking code is on the page. Next, create a new Journey and follow the steps demonstrated below.
1. Scan your form and choose your workflow
As demonstrated above, the form workflow allows you to capture form submissions in Autopilot and either:
- follow any existing workflow of the form (for example, your form software might already display a success message); or
- ignore the existing workflow and redirect to a URL.
If you’re unsure which option to select, we recommend leaving the first option selected.
If no form is found please review our form compatibility section.
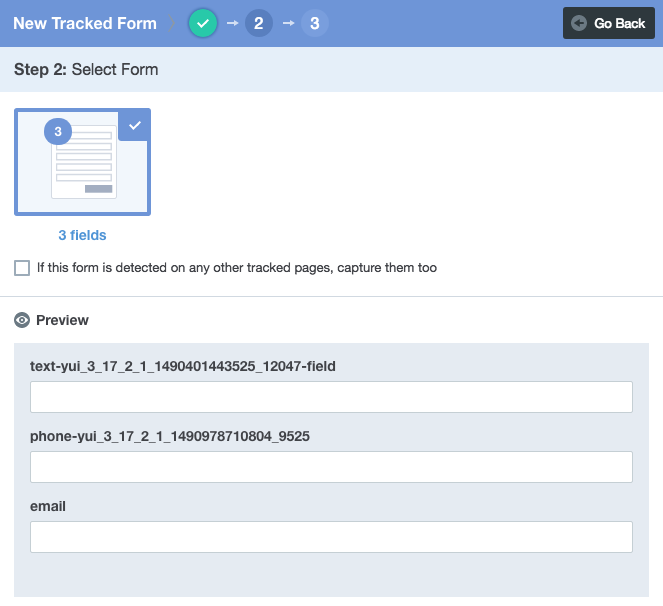
2. Select your form and indicate whether it's on multiple pages
When the scan is complete, it will show you the forms on the page, as well as a preview of their fields. Note that the field names may be different to their labels, but they will generally be in the same order.
Select the form you would like to track:
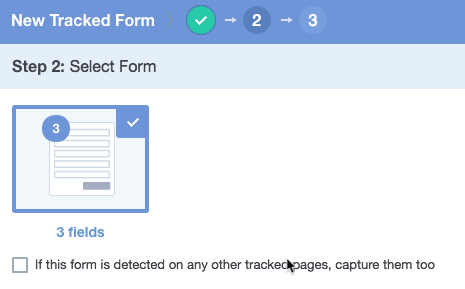
If a form is on multiple pages (e.g. a subscribe form in your website's footer), then select the option below:
3. Map your fields
Map your form fields to the corresponding fields in Autopilot. Please ensure you map the email field as it is required to create a contact in Autopilot. We'll do our best to automatically map your fields, however sometimes you’ll need to search and find a more appropriate field. If you don’t find an appropriate existing field, you can add a new custom field:
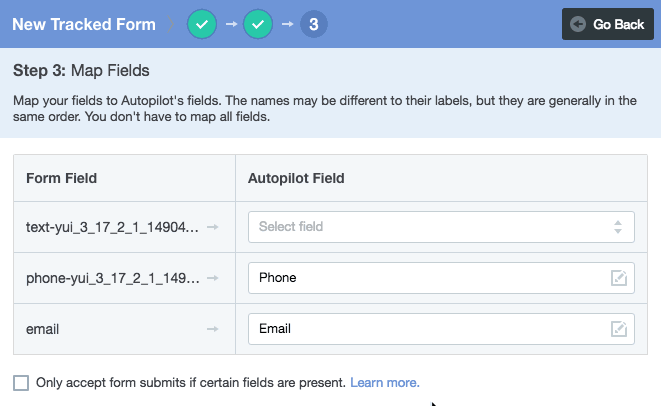
In some cases there may be fields that you do not wish to capture. To do this, clear the field and then click outside of it:
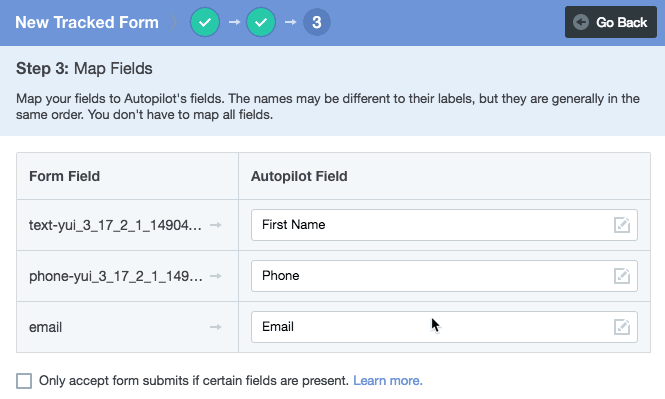
The "Only accept form submits if certain fields are present" option allows you to avoid capturing invalid submissions. Learn more here.
4. Test your form
To ensure that your form has been properly configured, we recommend testing it by submitting it. If you already had the page open prior to tracking the form, please refresh the page before submitting it.
If your form submission doesn't appear on the Dashboard in the Activity feed, please double check the tracking code is on the page, and then review the form troubleshooting guide.
How to create a Journey using your form
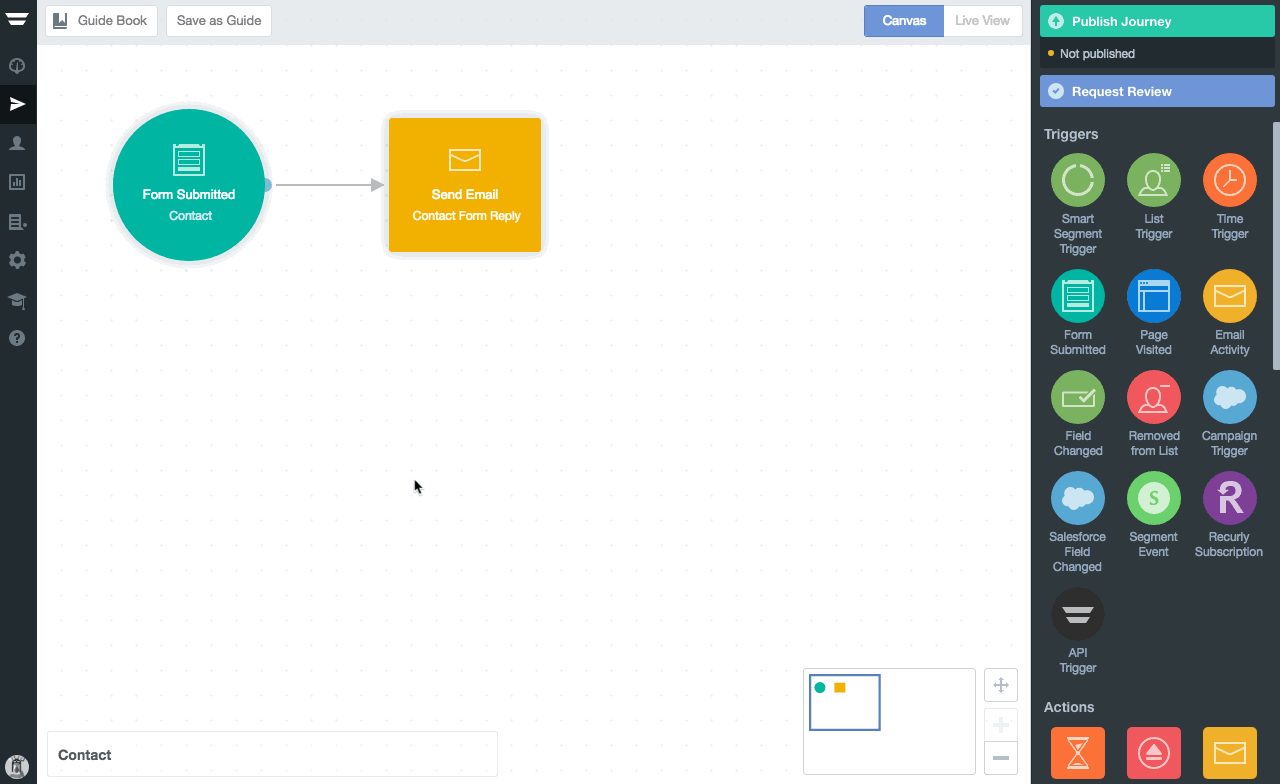
Now that your form is setup, you can use it in a Journey:
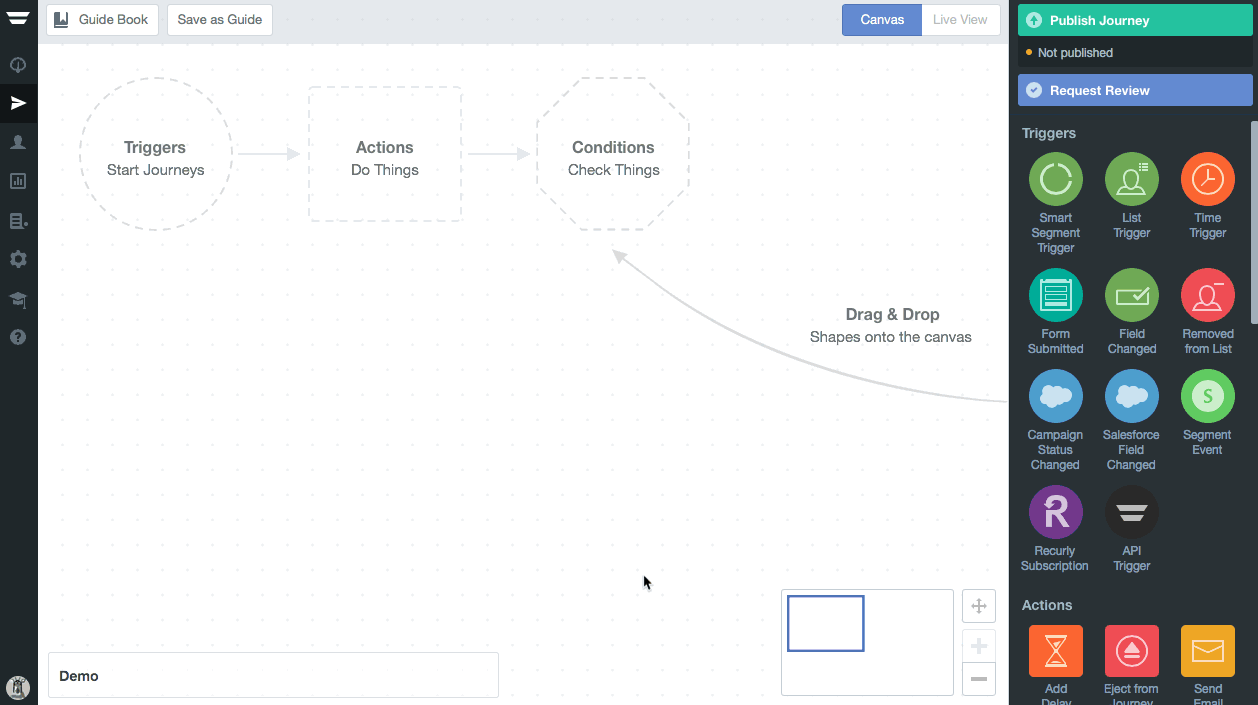
We recommend connecting the following actions to your trigger:
- Add to List action, so you can easily access all contacts that have submitted the form (note that you could also use a smart segment to do this).
- Send Notification action, to alert your team when a new submission is received.
- Send Email action, to send a confirmation email to the contact. Note that by default a contact can only receive an email once. Learn how to override this default for emails of this nature (i.e. transactional emails) here.
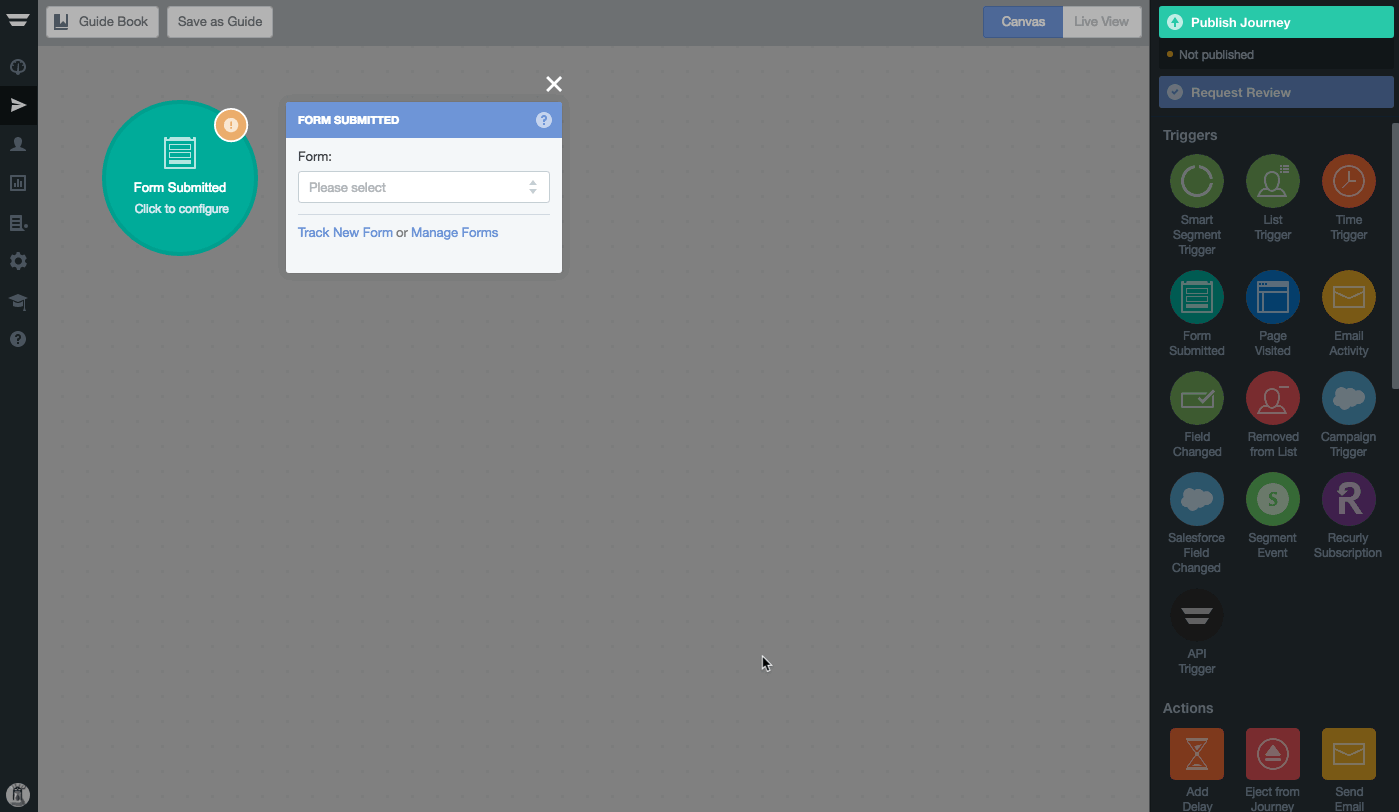
Manage your forms
To access your forms, click on any Form Submitted trigger in a Journey, and click "Manage Forms":
The Form Manager allows you to download submissions in CSV format, delete forms and edit existing forms.
Form compatibility and troubleshooting
Having trouble setting up your forms? Check out the dedicated form section of our knowledge base, or contact our support team and a form specialist will assist you with your form.
FAQ
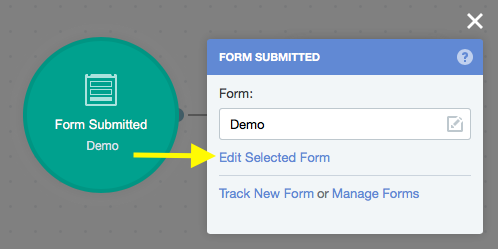
What happens if I add, edit or remove form fields?
If you add, edit or remove form fields you need to re-scan your form to ensure that it is still captured. The reason for this is that we use the form fields to identify forms as being unique; so changes may affect that. To re-scan a form, click "Edit Selected Form" and then follow the prompts: