
Autopilot: Proactive Headsup
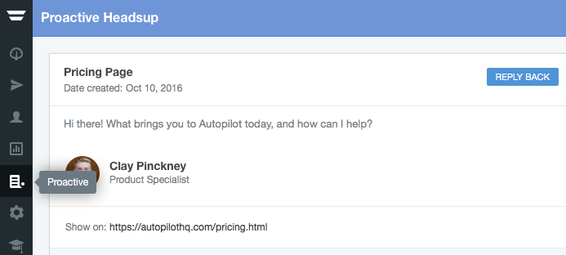
Proactive Headsup allows you to engage and convert anonymous visitors to your web pages. Before getting started, please ensure that you have the tracking code on the web pages where you would like to display Proactive Headsup messages.

You can create a Proactive Headsup message by going to the Proactive Headsup app:
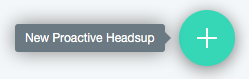
Next, click the "New Proactive Headsup" button:
Who will be shown Proactive Headsup messages?
Proactive Headsup messages will only be displayed to anonymous visitors. As soon as a visitor becomes "known" they will no longer be shown Proactive Headsup messages. For this reason, we suggest testing these messages in a private (sometimes known as "incognito") window.
If you want to show Headsup messages to known visitors, as opposed to anonymous visitors, use the Show Headsup action in a Journey. Because the Show Headsup action knows a visitor's identity, it allows you to personalize your messages, and show them at the right time and in the right context.
Each Proactive Headsup message will no longer be shown once it has either been responded to or dismissed.
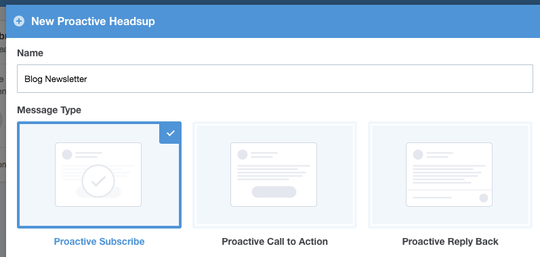
What does each message type do?
There are three message types:
- Proactive Subscribe
- Proactive Call to Action
- Proactive Reply Back
1. Proactive Subscribe
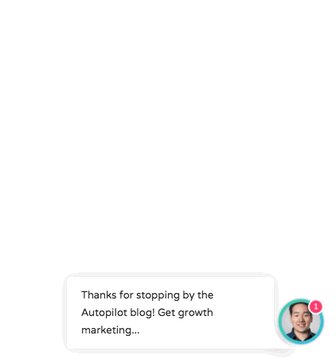
Proactive Subscribe allows you to convert anonymous visitors into leads by capturing their email address, as well as their first name and last name (if you wish to do so) and then adding them to a list of your choosing:
You can then add subscribers to a Journey by using a List Trigger, and selecting the list that you chose in the message setup:
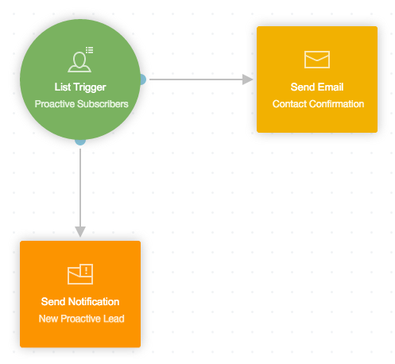
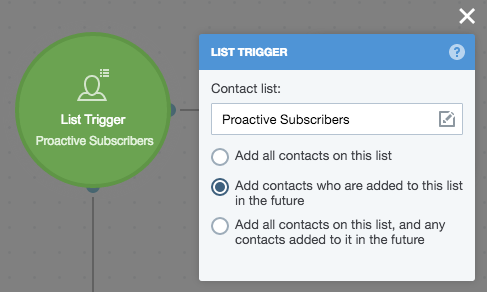
Remember to select the "Add contacts who are added to this list in the future" option on the List Trigger:
2. Proactive Call to Action
Proactive Call to Action allows you to display a message to visitors that encourages them to visit another relevant page:
In contrast to Proactive Subscribe, Proactive Call to Action does not capture any information about the visitor; instead, its goal is to give the visitor a nudge in the right direction. For example, you might direct visitors to your:
- contact form;
- pricing information; or
- knowledge base.
If the visitor later becomes known, their interactions with the Proactive Call to Action will be shown on their Activity Feed.
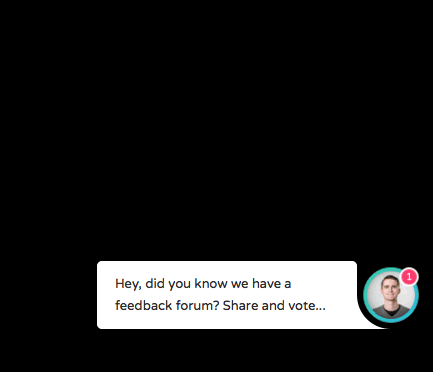
3. Proactive Reply Back
Proactive Reply Back allows you to start a conversation with anonymous visitors by asking them a question, and then collecting their email address, as well as their first name and last name (if you wish to do so).

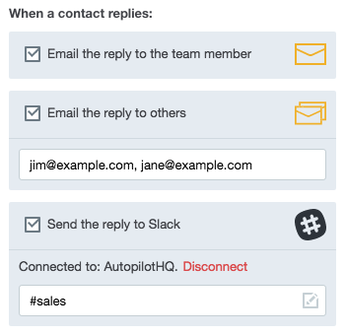
Replies to your messages can be emailed to you and your team, as well as sent to a Slack channel. Note that under "Email the reply to others" you can enter multiple emails separated by commas:
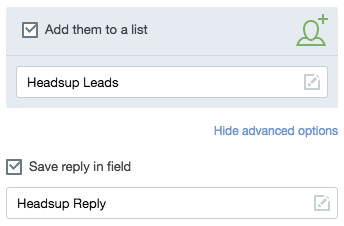
You can also add contacts that reply to a list, and save their reply in a custom field:
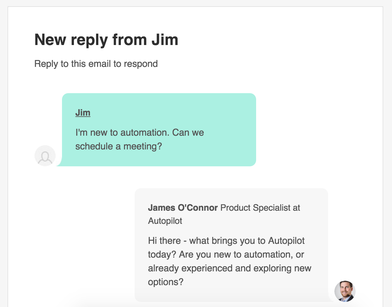
Emails come from the lead's email address, so to continue the conversation all you need to do is reply to the email:
How can I view new leads captured via Proactive Headsup?
As demonstrated above, leads acquired from Proactive Subscribe or Reply Back messages can be added to a list automatically by selecting it in the message settings.
We also automatically add lead source to new leads:
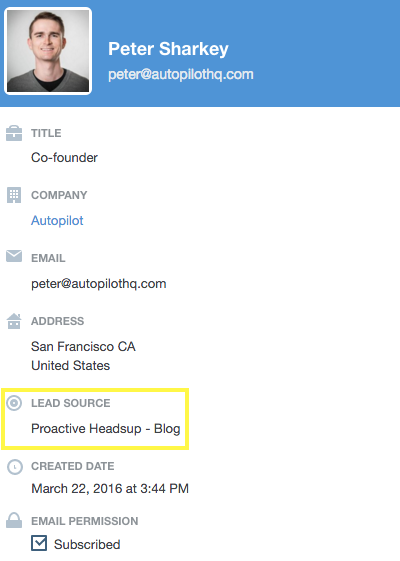
The lead source for leads captured via Proactive Subscribe or Reply Back will be “Proactive Headsup - Name of Message”. Note that if a lead already has a lead source, it will not be overwritten.
How can I control where messages be shown?
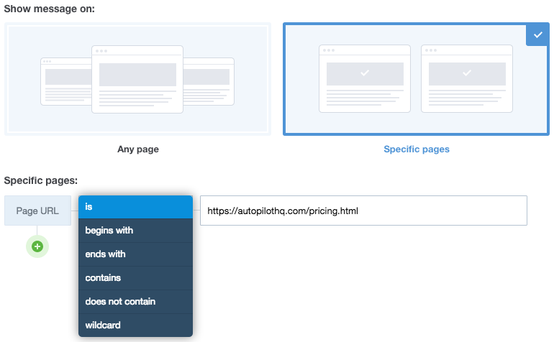
For each message you can choose whether it will be displayed on any page, or specific pages. If you choose to only show the message on specific pages, you have the following options:
You can click the "+" button to add additional pages:

To make targeting your messages easier, Proactive Headsup honors URL parameters. For example, if you were running a Facebook ad and had configured it to use a URL that contained UTM parameters, you could enter that URL in your message settings:

This would allow you to display a targeted messages (e.g. an offer) only to those people that visit the page from that particular ad.
If you'd prefer to show a message to everyone that visits a page, regardless of whether it's via a URL with particular parameters, you can use the contains option:

Finally, please note that:
- You don't need to worry about adding variations for http://, https://, and www. This is handled automatically.
- For wildcard formatting please see this article.
If there are multiple messages eligible to be shown on a particular page, in which order will they be displayed?
Messages configured to display on "specific pages" will be shown first. If there is more than one of these, they will be displayed based on when they were last published, in reverse chronological order (i.e. the message that was published most recently will be displayed first).
Messages configured to display on "any page" will be displayed next. As above, if there is more than one of these, they will be displayed based on when they were last published, in reverse chronological order.
How can I measure message performance?
At the bottom of each message you'll find key metrics that enable you to message performance:
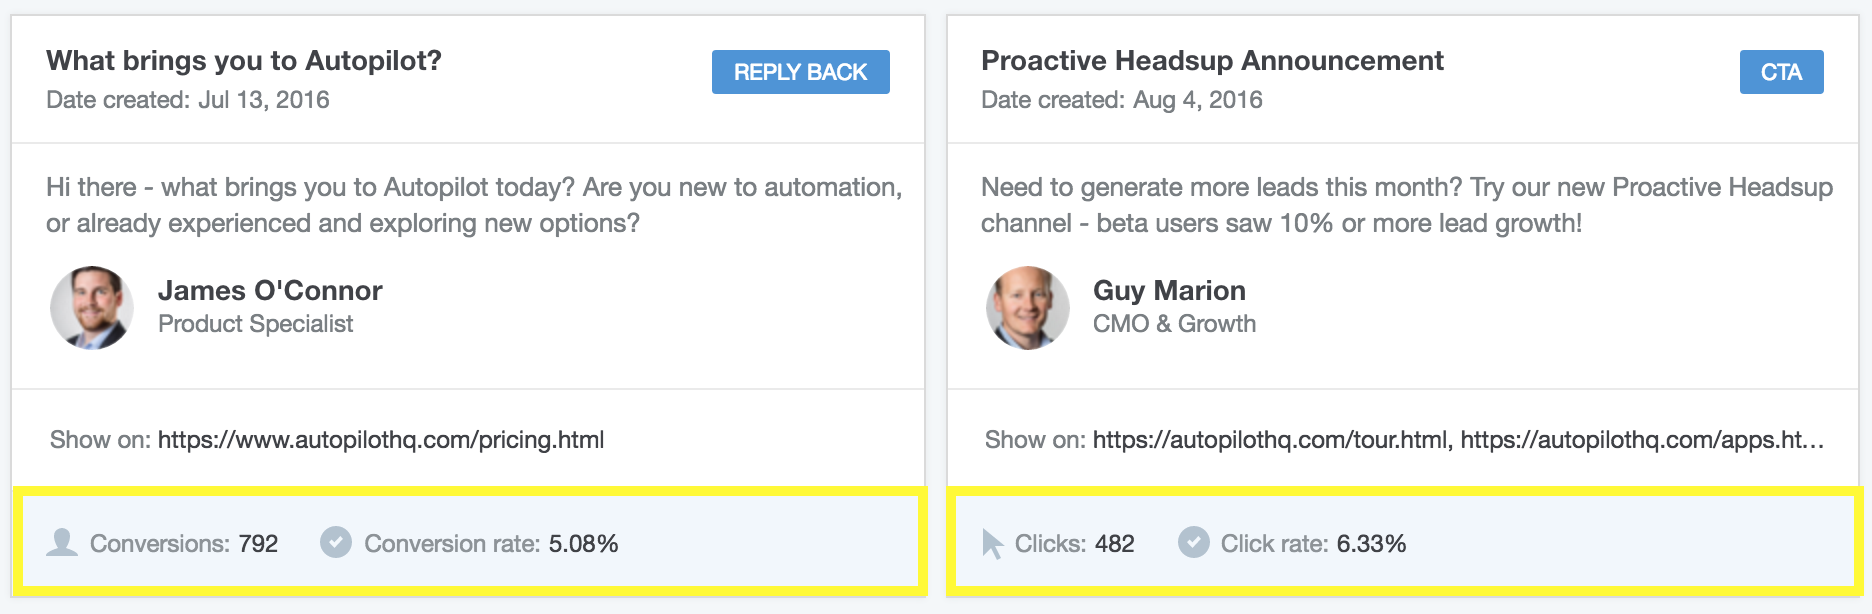
For Proactive Subscribe and Proactive Reply Back:
- Conversions: number of people that subscribed or replied to the message
- Conversion rate: conversions / number of people that the message was shown to
For Proactive Call to Action:
- Clicks: number of people that clicked the the call to action
- Click rate: clicks / number of people that the message was shown to
Note that all metrics are based on unique sessions (i.e. one person in the same web browser session can only count once).
How can I edit, pause or delete a message?
To edit, pause, or delete a message, hover on it and then select the relevant option:
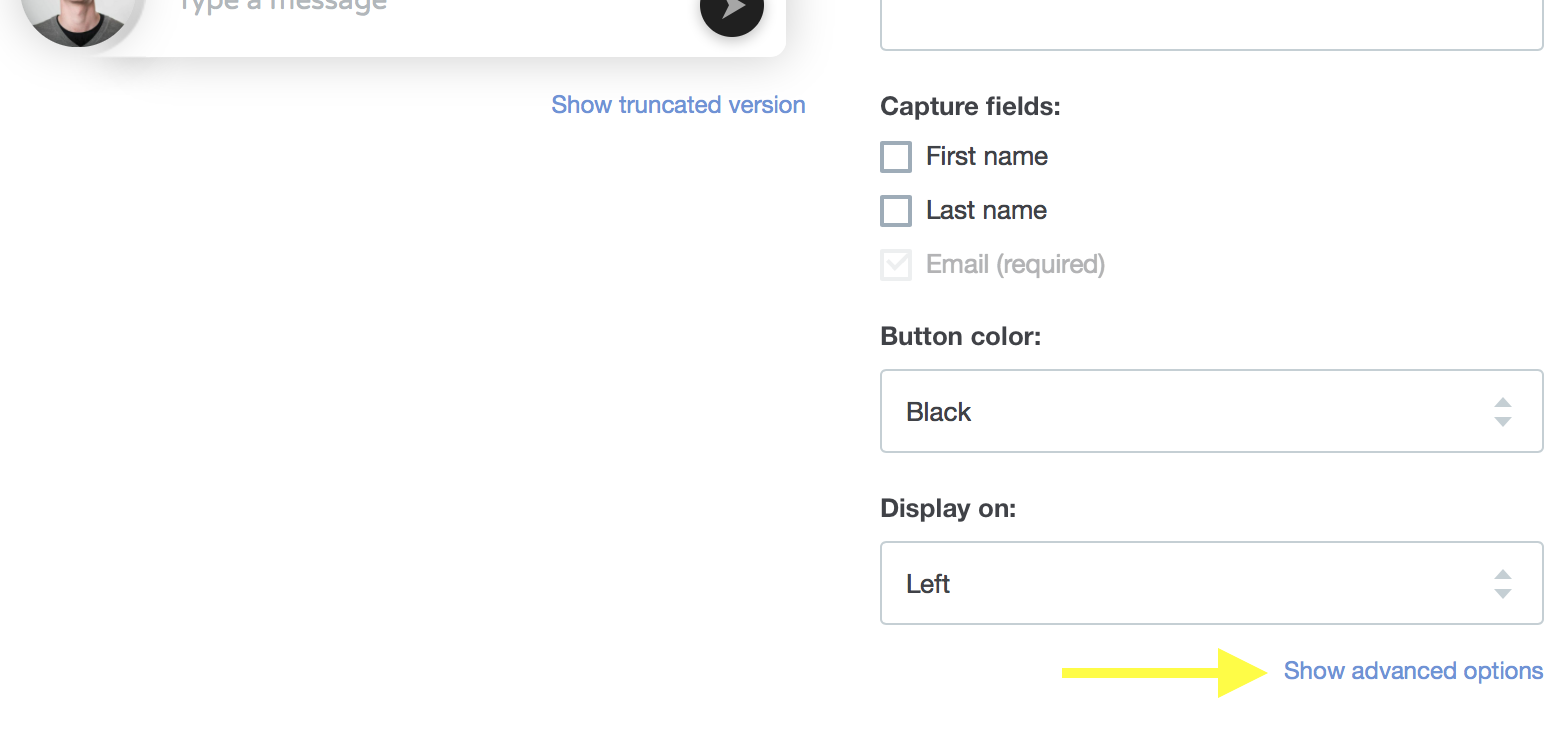
What does each advanced option do?
You can access the advanced options on the "Configure message" step:
They are as follows:
- Remove Autopilot branding: choose whether to display the Autopilot logo on the message.
- Remove profile border: choose whether to display the colored border around the profile image.
- Display on mobile devices: choose whether to display the message on mobile devices.
- Display on tablet devices: choose whether to display the message on tablet devices.
- Include compulsory terms and conditions link: choose whether to include a mandatory checkbox that includes a link to your terms and conditions. Learn more about GDPR compliance here.