
Autopilot: How to connect to Salesforce and configure your sync preferences
Autopilot's native Salesforce integration allows you to:
- bi-directionally sync some or all of your Leads, Contacts and Accounts as records in Autopilot; and
- use the Salesforce triggers, actions and conditions in your Journeys.
Thousands of companies including Patreon and Greenpeace use Autopilot's Salesforce integration to supercharge their marketing.
Follow the steps below to connect to Salesforce and configure your sync preferences. You can also learn more in the FAQ.
1. Connect to Salesforce
In Settings, go to Salesforce Sync and click "Connect":
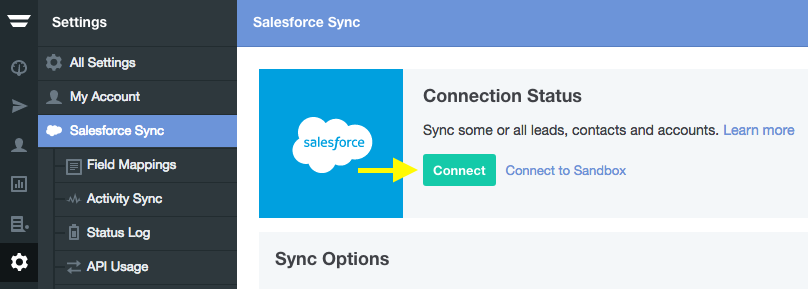
When prompted, login to Salesforce. We recommend having a Salesforce administrator connect, as other roles may not have the necessary permissions.
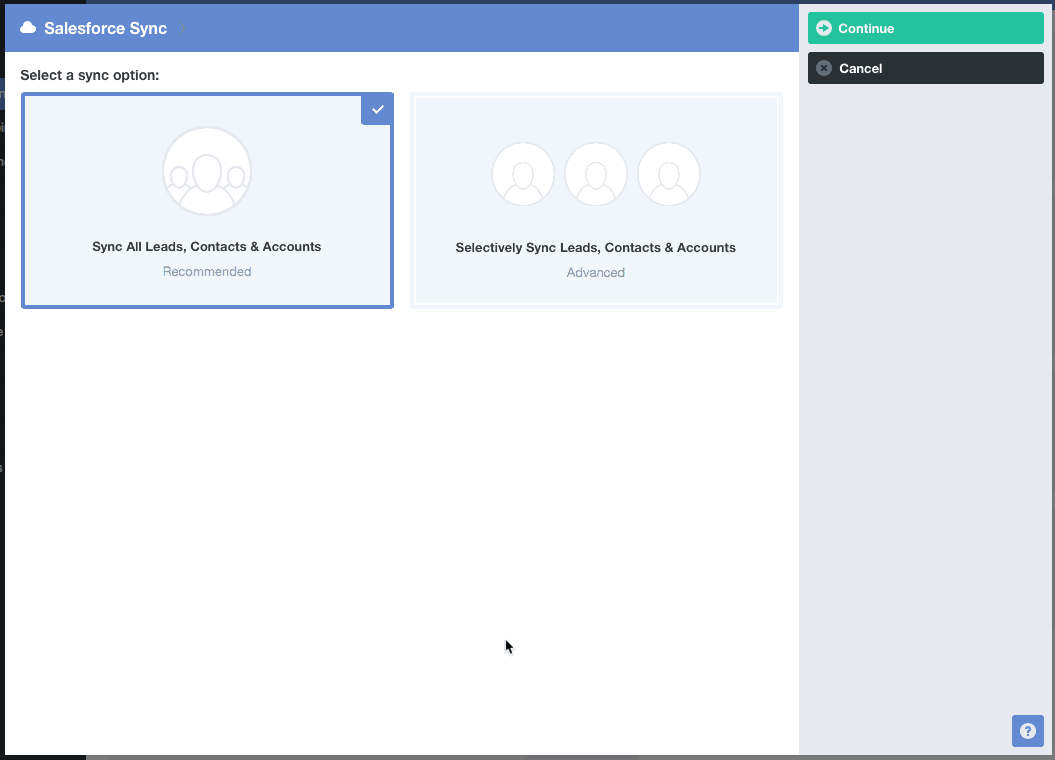
2. Configure your sync preferences
By default, Autopilot will syncSalesforce Leads, Contacts and Accounts. This is recommended because it gives you easy access to your entire Salesforce database in Autopilot:
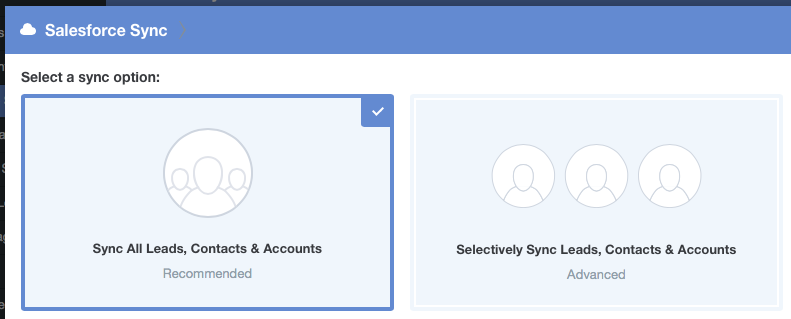
However, if you'd prefer to only sync a selection of your Salesforce database, choose the "Selectively Sync Leads, Contacts and Accounts" option. For each object this allows you to:
- sync all records;
- only sync records that meet your criteria (e.g. status is not "junk"); or
- not sync any records.
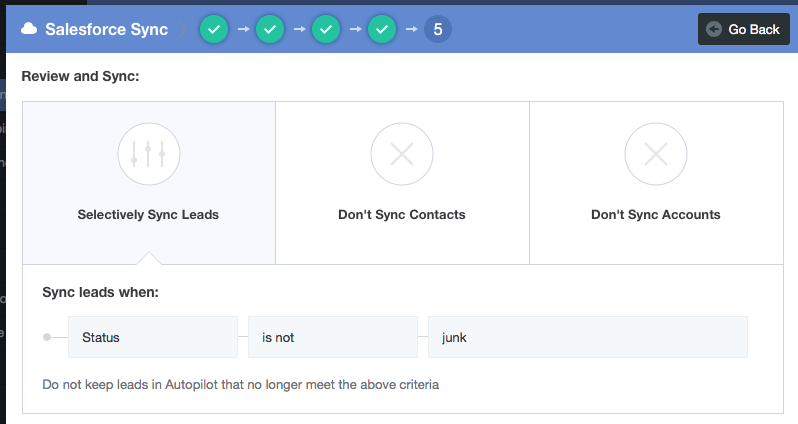
For example, below is a demonstration of how to only sync Leads whose status is not "junk":
You can add multiple criteria using the "+" button. These criteria are joined by "AND". For example, the criteria below would sync leads whose:
- status is open; AND
- country is not Australia.

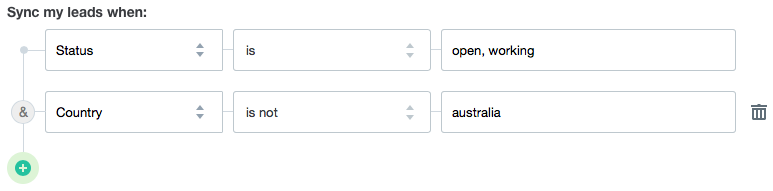
You can put an OR between your criteria by using commas. For example, the criteria below would sync leads whose:
- status is open OR working; AND
- country is not Australia.
Autopilot will then sync with Salesforce every 10 minutes and check for records that meet, or no longer meet, your criteria.
If you're using selective sync, an important decision is what should happen when a record no longer meets your sync criteria:

These options work as follows:
- Remove the record from Autopilot: the record will be permanently deleted from Autopilot and will stop progressing through any Journeys they had been added to. If the record meets your sync criteria again in the future, they will be added as a new record in Autopilot and no data associated with the previously deleted record will be restored (e.g. history of the emails they had been sent).
- Keep the record in Autopilot: the record will remain in Autopilot, but will no longer be synced with Salesforce. This means that they will be removed from the Salesforce list they previously belonged to (e.g. the Salesforce Leads list). Use this option if you'd prefer to retain the record's data in Autopilot (e.g. history of the emails they had been sent), and for them to continue to progress through any Journeys they had been added to.
Finally, choose whether you want to customize your field mappings:
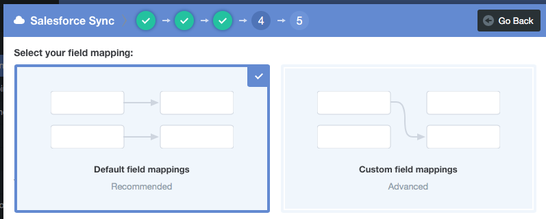
By default, Autopilot will sync all standard Salesforce fields. However, if you have custom fields you'd like to sync, select "Custom field mappings". Note that you can change your field mappings later.
Finally, you'll be given a preview of your sync preferences. Ensure that everything is correct, and then click "Sync with Salesforce":
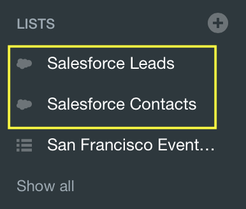
Once the sync is complete, you'll see two new dedicated lists in the Contacts app, containing the Leads and Contacts that you chose to sync:
Learn more about Autopilot's contact and company records (and their Salesforce equivalents) here.